

Last updated September 20, 2026
Full 25-point door and opener safety check with every visit - springs, cables, rollers, tracks, and your LiftMaster or Chamberlain opener included
You get a price before we start. It does not change when the truck arrives.
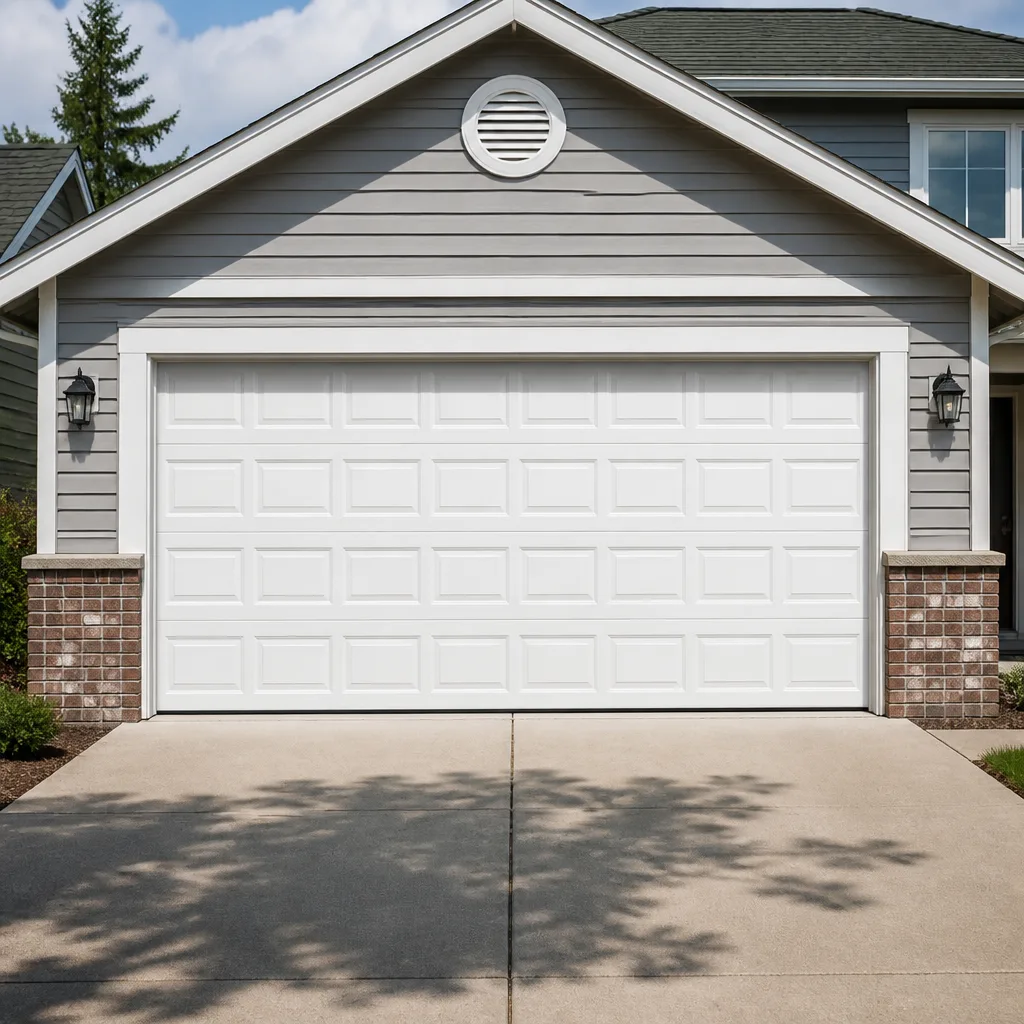
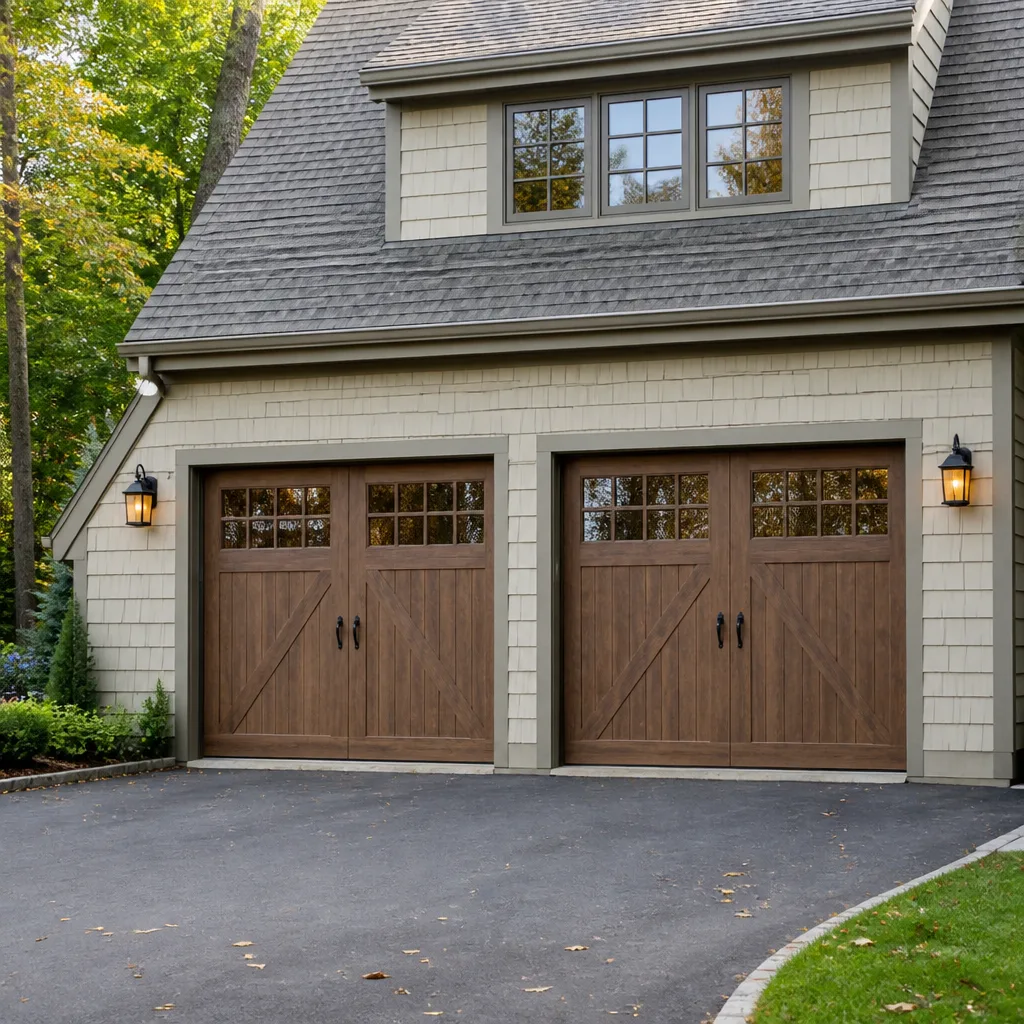
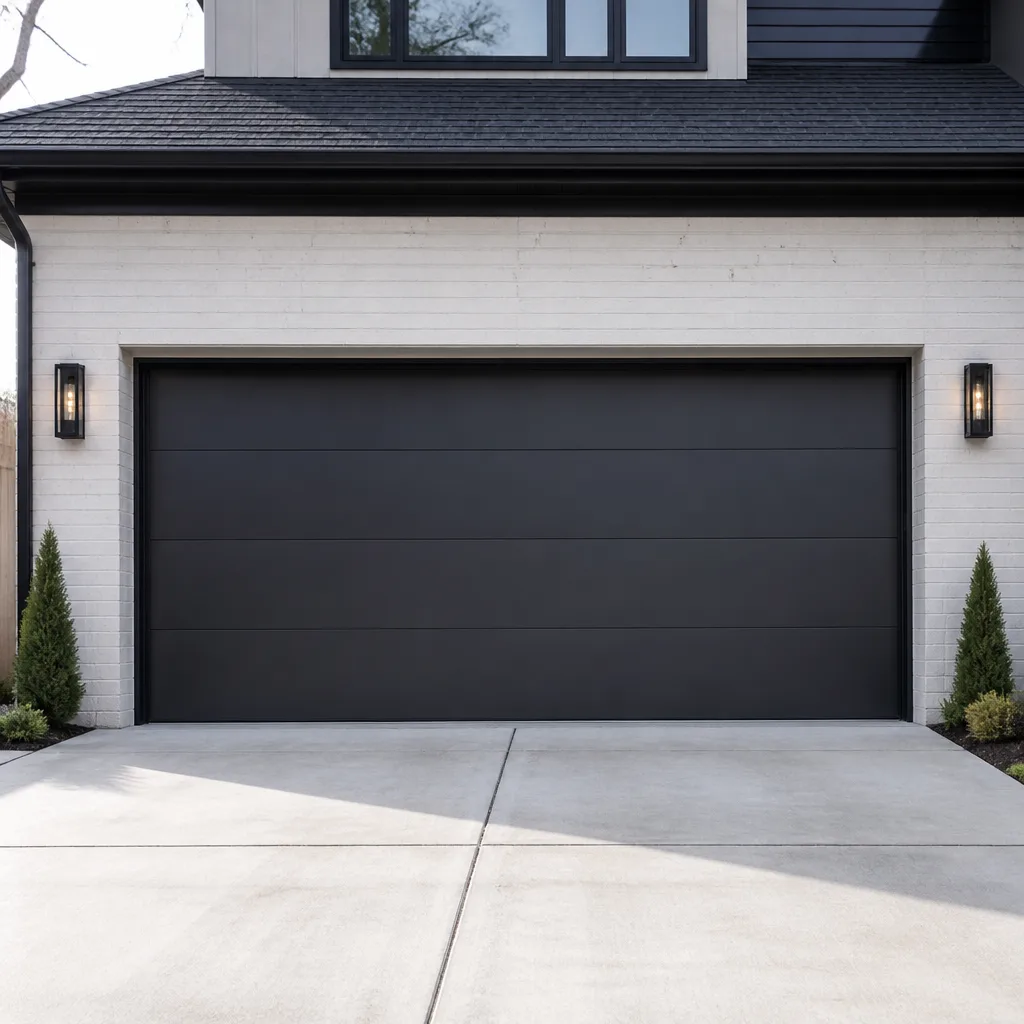
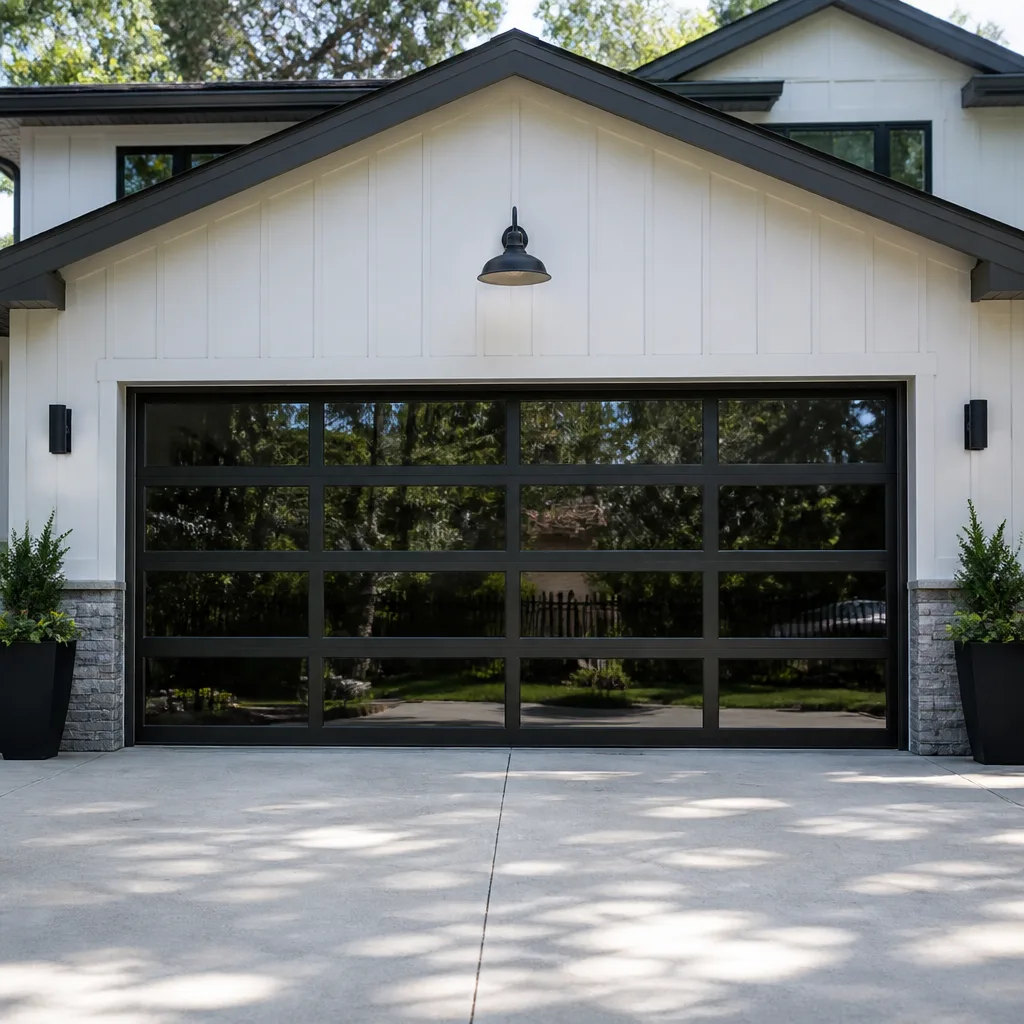
 Before
 After
After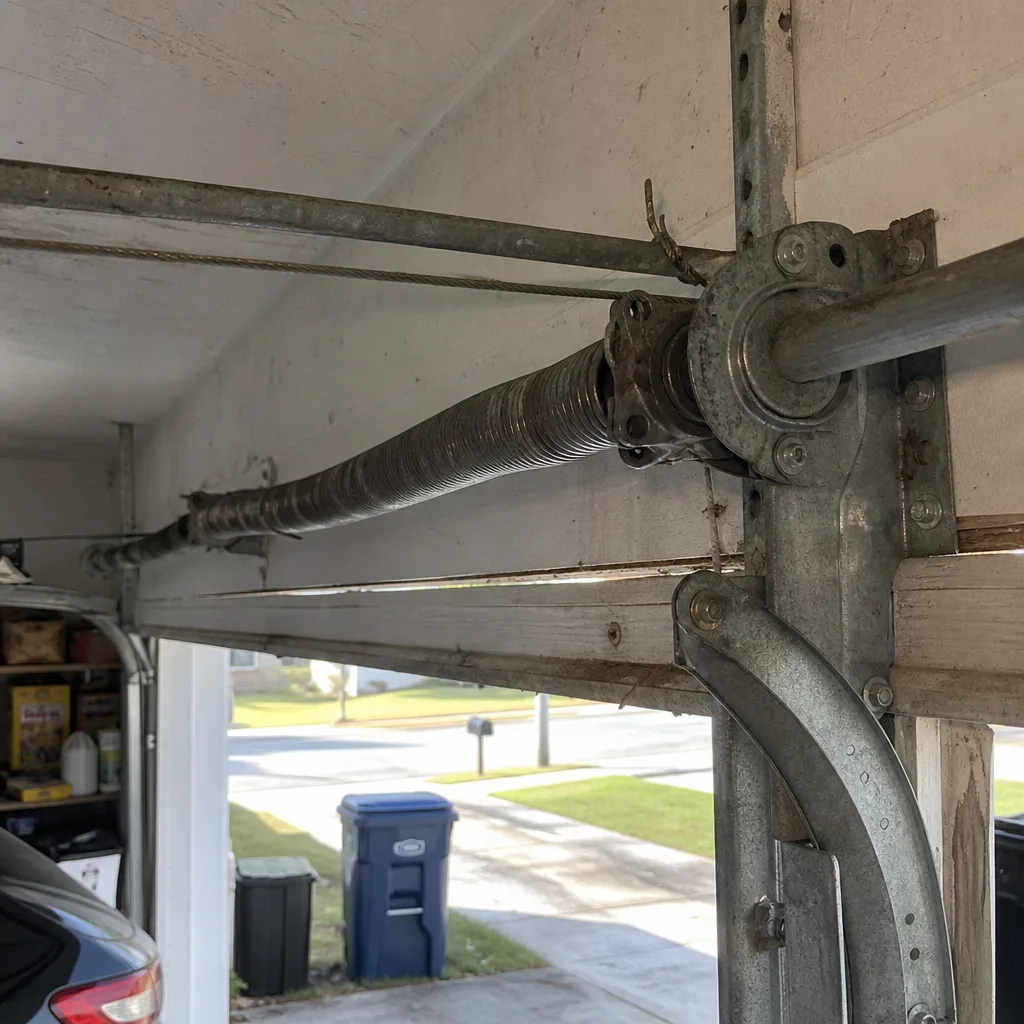 Before
 After
After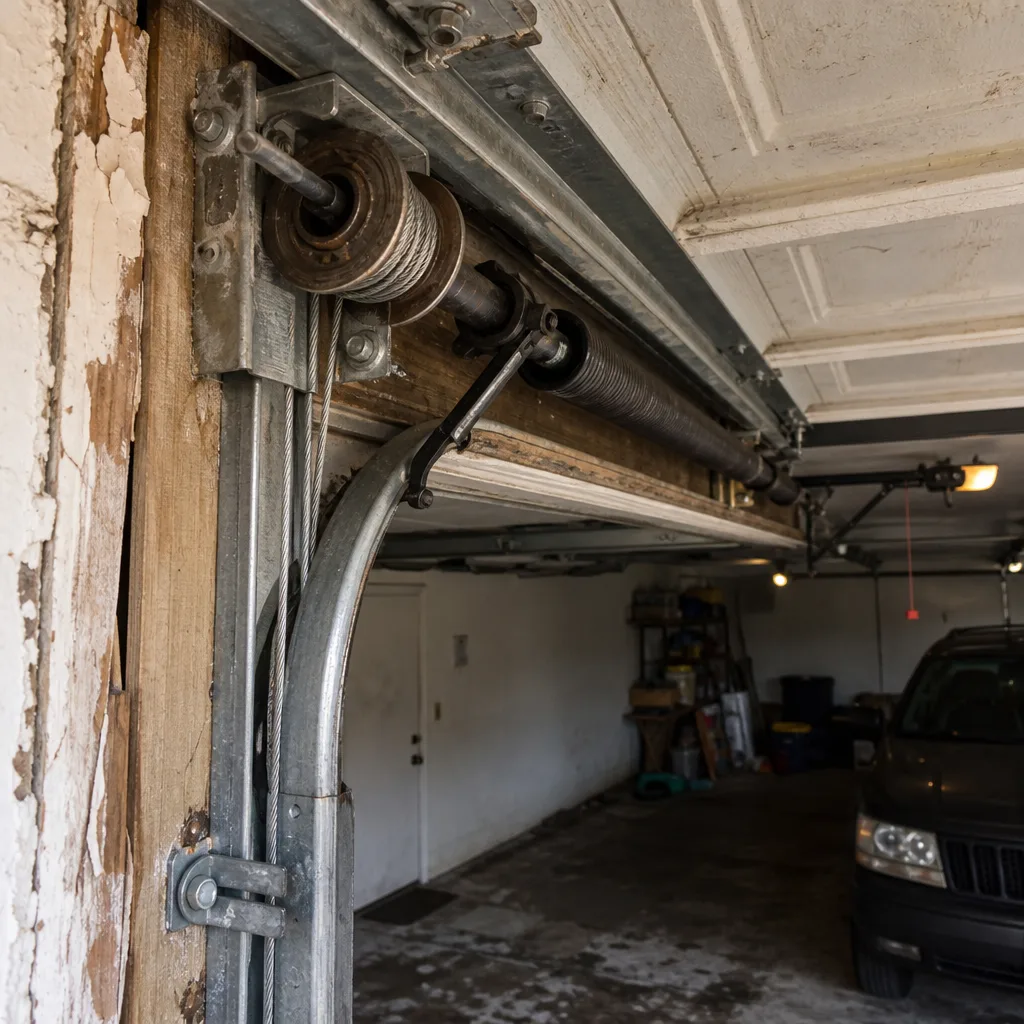 Before
 After
AfterGarage Door Repair Maintenance Checklist for Kissimmee Homeowners
Most Garage Door Warning Signs: A Kissimmee Homeowner’s Reference Guide content circulating online was written for Ohio winters and Arizona dryness, and they miss what actually kills doors in central Florida. In Kissimmee, we replace more torsion springs in August than in any other month, and the failure usually traces back to something visible months earlier: rust at the winding cone, a cable that started fraying at the drum, a bottom seal that stopped compressing against the slab. This guide is built from the components that fail here, in the order they typically fail, so you can catch a $40 seal replacement before it becomes an $800 spring job and a flooded garage floor.
Quick Answer
A Kissimmee garage door maintenance checklist should focus on corrosion at cable drums and bottom brackets, bottom seal compression against standing rainwater, spring cycle fatigue from daily thermal expansion, and roller and hinge wear from humidity and heat. Inspect these components every three months, lubricate moving metal parts twice a year with a silicone or lithium spray, and photograph everything you inspect so you can compare rust progression between visits. If you hear a loud bang from the garage or see a visible gap in a torsion spring, stop using the door and call a professional for Garage Door Repair.
Table of Contents
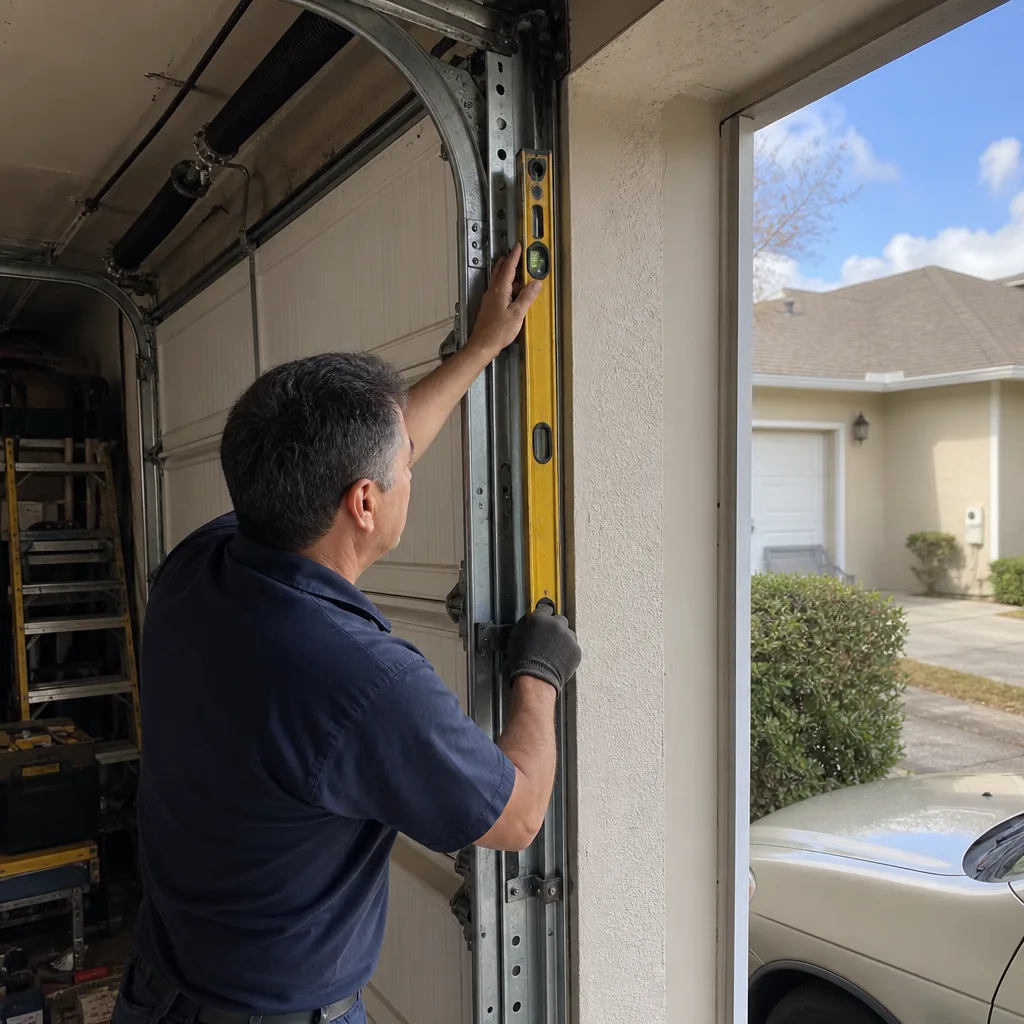
- The Kissimmee Failure Pattern: Why Local Climate Changes the Checklist
- The Corrosion Inspection Sequence: Cable Drums, Bottom Brackets, and Hinge Barrels
- Bottom Seal Compression: How to Catch Tropical-Storm Water Before It Reaches the Slab
- Spring Cycle Count: Estimating Remaining Life by Use Cycles, Not Calendar Time
- Lubrication Product Selection: What to Use and What Accelerates Seal Decay
- The Documentation Habit: Photographing Hardware to Track Corrosion Progression
- Seasonal Maintenance Schedule for Kissimmee Homes
- Common Mistakes to Avoid
- When to Call a Professional
- Frequently Asked Questions
- The Bottom Line
BeforeAfterThe Kissimmee Failure Pattern: Why Local Climate Changes the Checklist
Kissimmee sits in USDA hardiness zone 9b, but the number that matters for garage door hardware is the average relative humidity, which runs above 70 percent most mornings and rarely drops below 55 percent even on dry afternoons. That’s enough moisture to keep bare steel in a constant state of slow oxidation, and it’s why the failure patterns here don’t match what manufacturers print in their generic manuals.
In our experience at Garage Door Repair in Kissimmee, the sequence usually goes like this: first the cable drum anchors corrode, then the bottom bracket plates, then the hinge barrels. Springs fail from fatigue rather than rust, because daily temperature swings between a cool garage and a hot afternoon cause the steel to expand and contract on a micro level. And bottom seals, which last six or seven years up north, degrade here in three or four because standing water from afternoon thunderstorms sits against the rubber until the slab dries.
The practical implication is that a generic maintenance checklist will have you checking the wrong things in the wrong order. Here’s the order that matters for Kissimmee:
- Cable drums and cable condition - highest corrosion exposure, most critical safety component
- Bottom brackets - the plates that hold the cables to the bottom corners of the door
- Bottom seal - the rubber strip along the bottom edge that blocks water and pests
- Torsion springs - check surface rust at the winding cones and watch for fatigue signs
- Hinge barrels and rollers - lubrication and wear checks
- Opener force settings - adjust for seasonal changes in door weight and spring tension
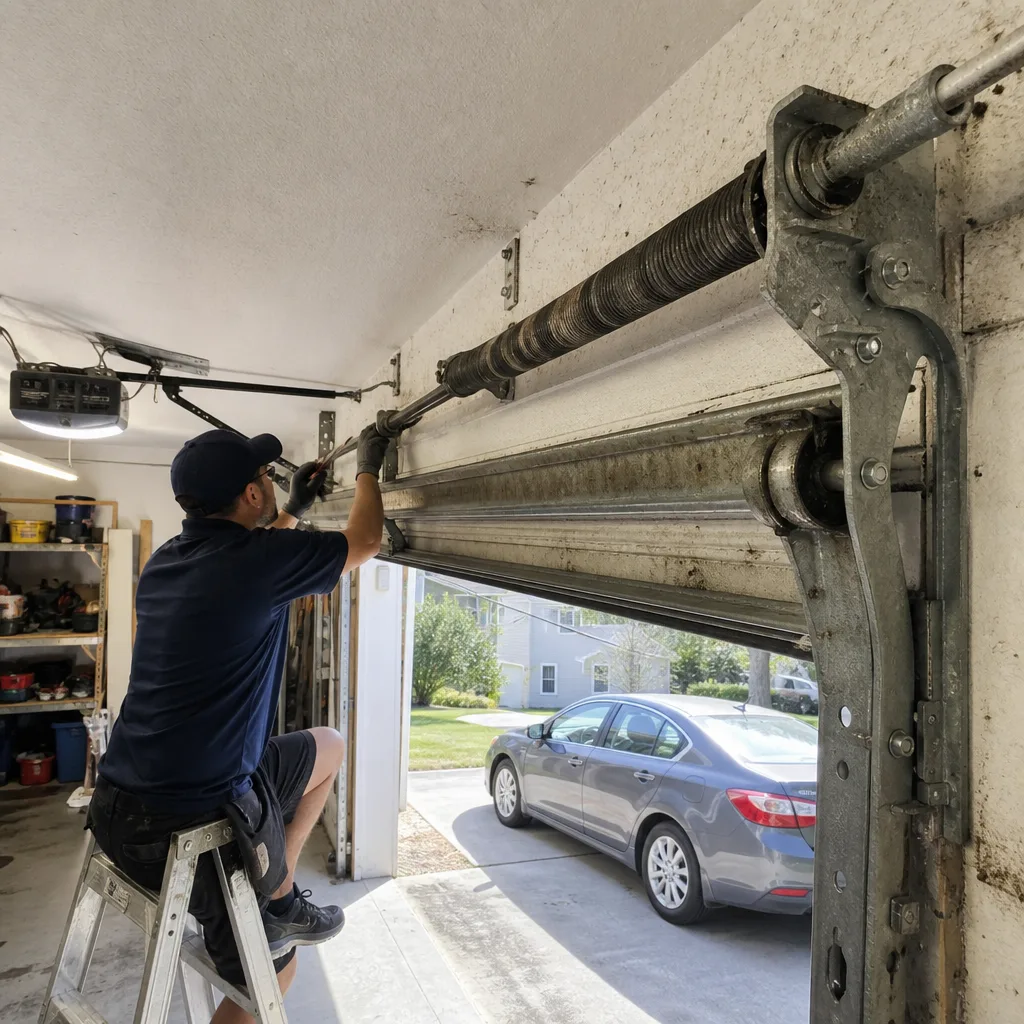
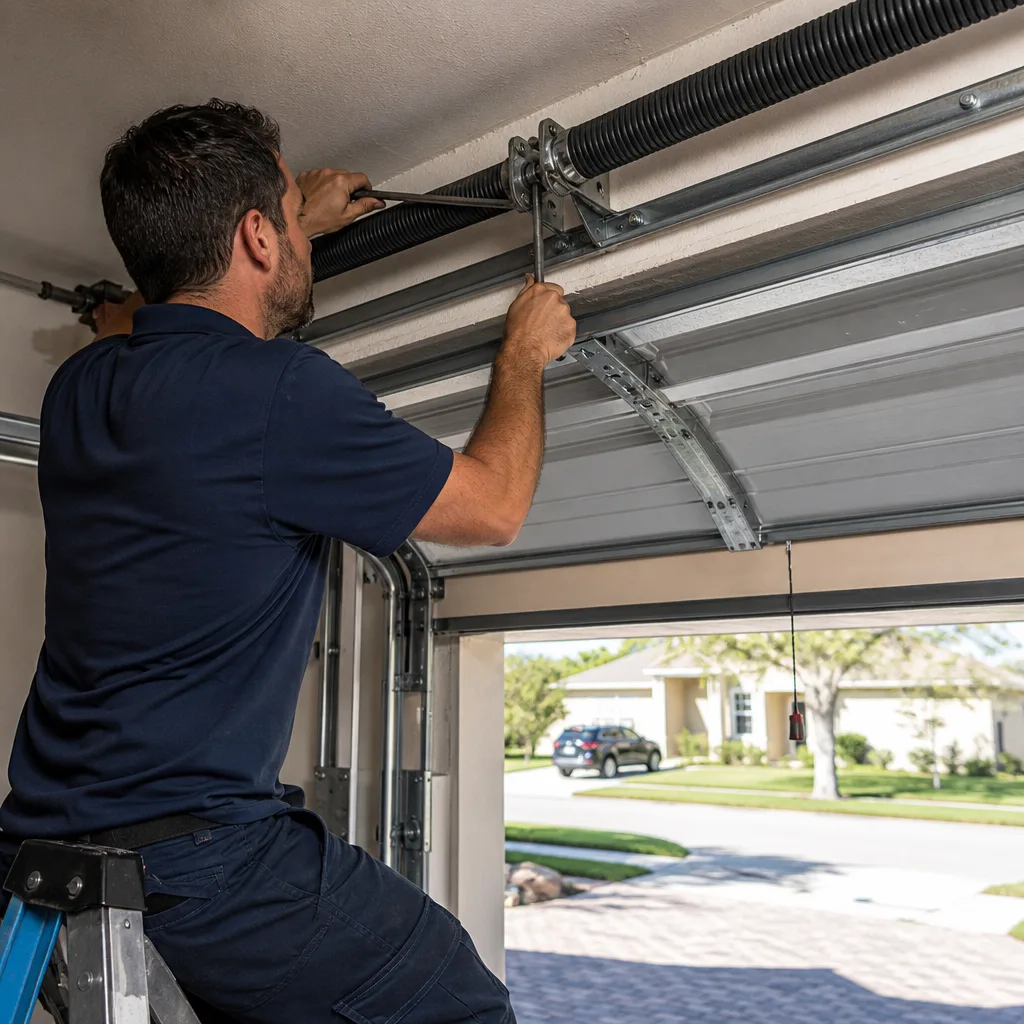
If you’re not sure what a torsion spring looks like, it’s the coiled metal spring mounted on a bar above the door opening, not the cables on either side. The cables are what lift the door; the spring does the actual lifting work. When someone tells you the cable snapped, nine times out of ten the spring failed first and the cable was collateral damage.
The Corrosion Inspection Sequence: Cable Drums, Bottom Brackets, and Hinge Barrels
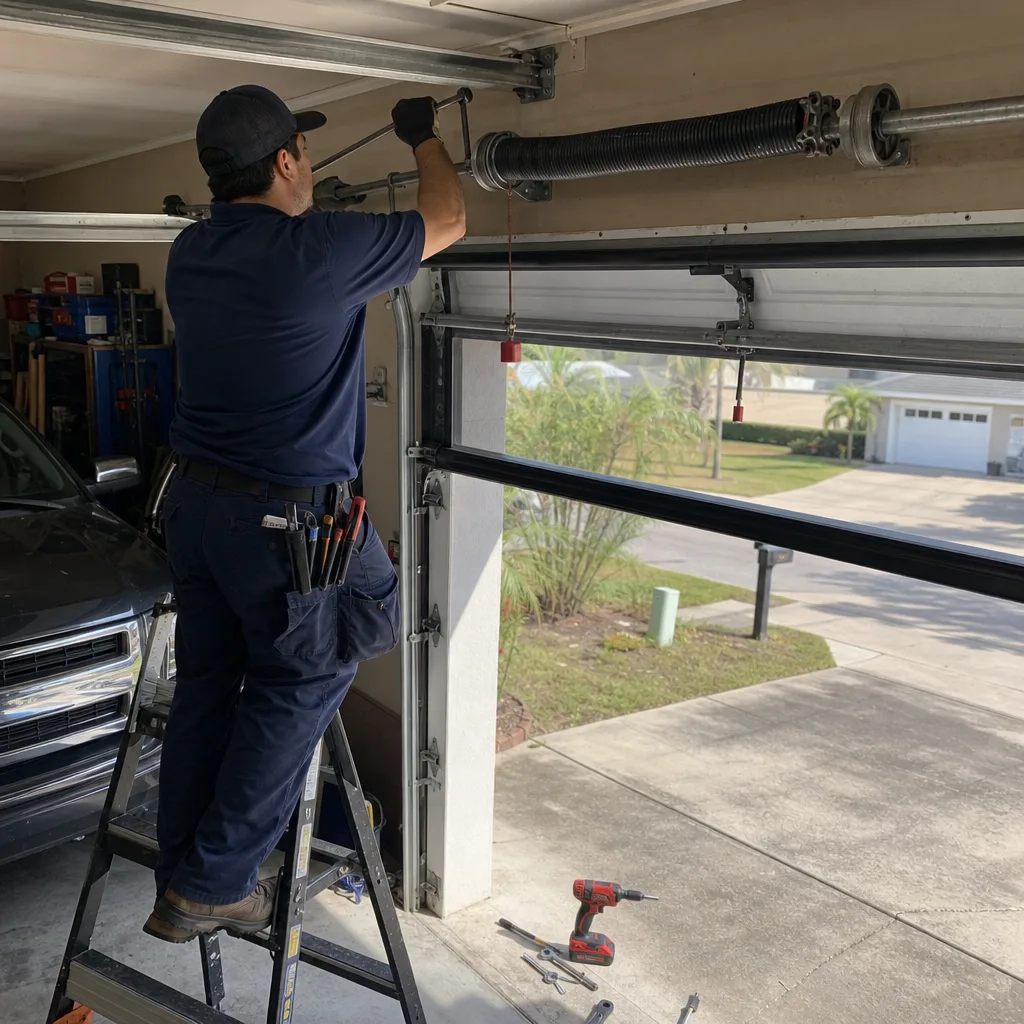
Kissimmee’s humidity attacks garage door hardware unevenly. Some components sit in moving air and dry quickly. Others sit in dead air pockets where moisture condenses and stays. The components that fail first are the ones that sit in those dead air pockets while also carrying load.
Cable Drums
The cable drum is the grooved wheel at each end of the torsion bar, above the door opening. It winds and unwinds the lifting cable as the door moves. In Kissimmee, cable drums rust at the groove edges and at the set screws, where the zinc coating is thinnest. A rusted groove edge acts like fine-grit sandpaper on the cable, which is why we see so many frayed cables on doors that are otherwise in decent shape.
What to look for: rust bloom at the groove edges, rust dust collecting on the top of the drum, or a brown residue on the cable itself. If you see any of these, photograph the drum and check again in a month. If the rust has pitted the groove surface, the drum should be replaced before it chews through a cable. A cable that parts while the door is up can drop the door hard enough to damage panels, and the cable itself can whip.
Bottom Brackets
Bottom brackets are the angled steel plates bolted to the bottom corners of the door where the lifting cables attach. In Kissimmee, they corrode from the back side, where they meet the door face. Water that runs down the door face during sideways rain gets trapped between the bracket and the panel, and the corrosion happens out of visible sight until the bracket is physically failing.
What to look for: rust staining running down from the bracket onto the door face, powder residue around the bolts, or any deviation in the bracket’s angle. In later stages, you’ll see the bracket pulling away from the door face at the top edge. That gap means the metal behind has lost enough thickness that the bolts are losing their grip. A failed bottom bracket will let the cable pull free, and the door can’t be opened or closed safely after that.
Hinge Barrels
Hinges on a sectional garage door connect the panels and let the door bend as it rounds the track. Each hinge has a barrel, the cylindrical part that holds the pin. Rust in the hinge barrel causes the hinge to bind, which changes the door’s travel through the curve and puts uneven load on the panels. That’s how a $12 hinge leads to a $300 panel crack.
What to look for: rust dust at the pin ends, a grinding or squeaking sound from specific hinges during operation, or visible surface rust along the barrel. If a hinge squeaks only at the top or bottom of the travel, it’s probably corroded at one end. Spray it with a lithium lubricant and watch for whether the squeak returns within a week. If it does, the hinge should be replaced.
Bottom Seal Compression: How to Catch Tropical-Storm Water Before It Reaches the Slab
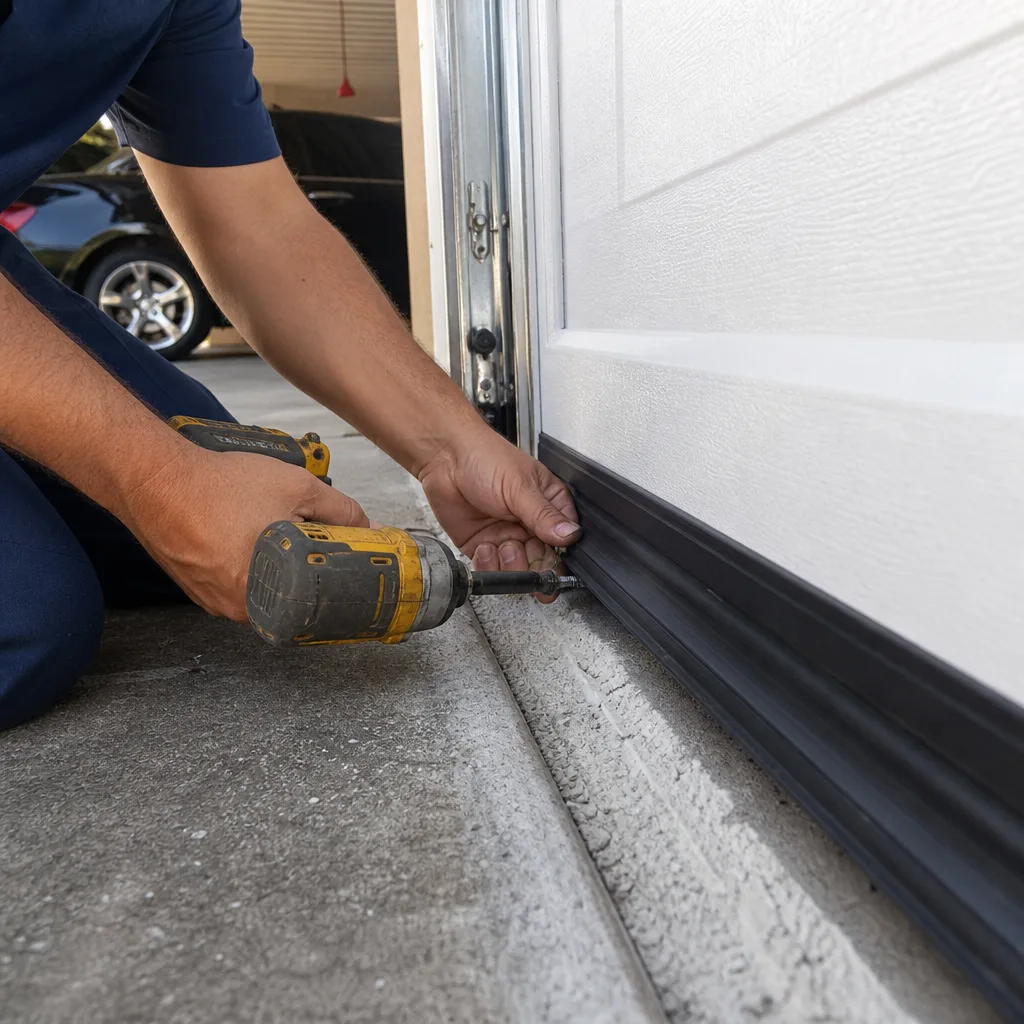
Kissimmee’s afternoon thunderstorms dump water fast, and if your garage slab sits even half an inch below the driveway or the approach, that water runs straight for the door. The bottom seal is the only thing between standing water and everything stored on that floor. The problem is that seals compress and forget their shape over time, and a seal that looks fine from six feet away may not be touching the slab at all.
Here’s how to measure seal compression in under two minutes:
- Close the garage door completely and wait for the opener to release tension. If you have an automatic opener, close the door with the opener so it sits in its normal position.
- Stand inside the garage and close the lighting off, or lean down and look along the seal where it meets the slab. You’re looking for visible daylight gaps between the rubber and the concrete.
- Slide a dollar bill under the seal at multiple points along the door width. You should feel resistance. If the bill moves freely at any point, the seal is not compressing against the slab at that spot.
- Run the same test during or immediately after heavy rain with water pooled against the outside of the door. Any water that crosses the seal line is a failure point.
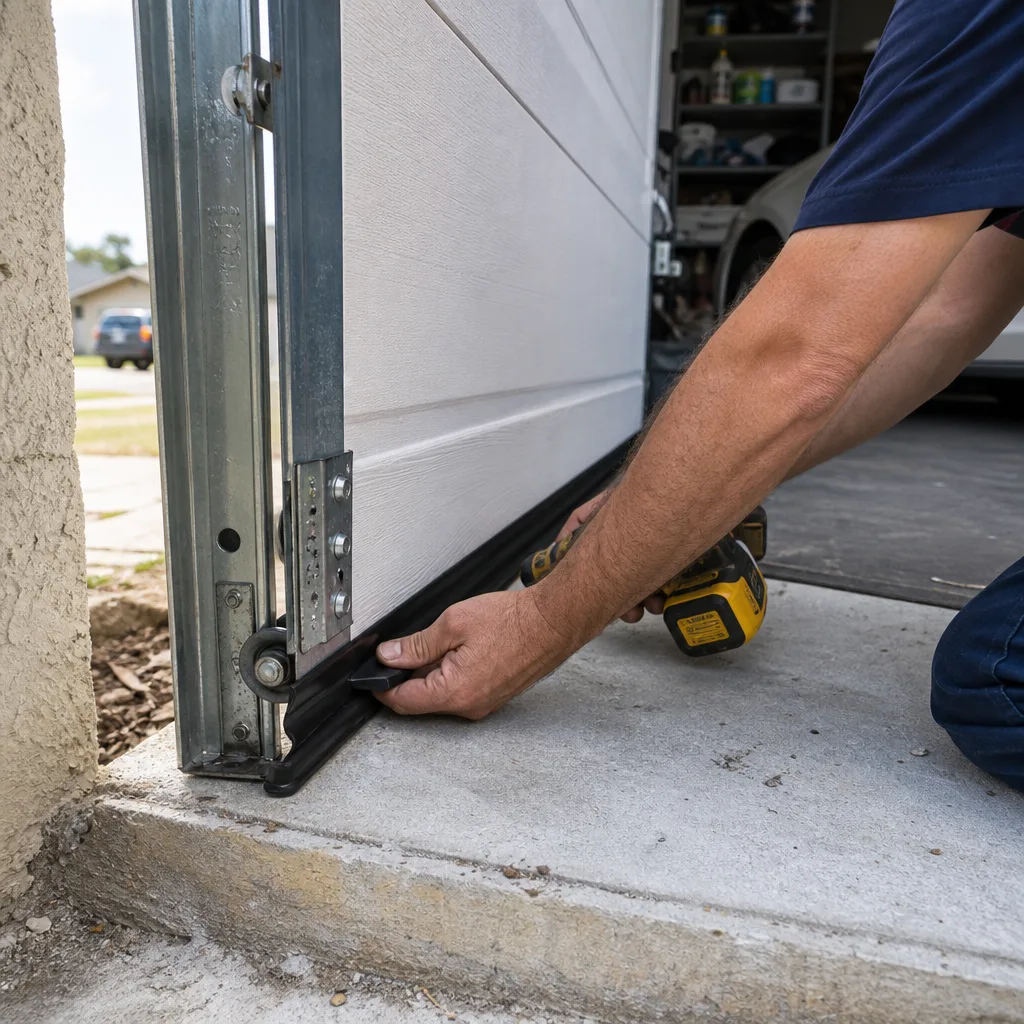
If you find gaps, the fix is usually a bottom seal replacement, not a door adjustment. But don’t just grab any seal from the home center. Kissimmee homes need a seal rated for high heat and repeated wet-dry cycling, and the replacement should be sized for the retainer channel on your specific door. A Chamberlain door and an Amarr door use different retainer profiles, and forcing the wrong seal into the channel guarantees another failure inside a year.
One more thing worth knowing: petroleum-based lubricants accelerate rubber seal decay in high heat. If you’ve been spraying a general-purpose lubricant onto your hinges near the bottom seal, the overspray may be eating your seal from the top edge. We’ll get to the right lubricants in a minute.
Spring Cycle Count: Estimating Remaining Life by Use Cycles, Not Calendar Time
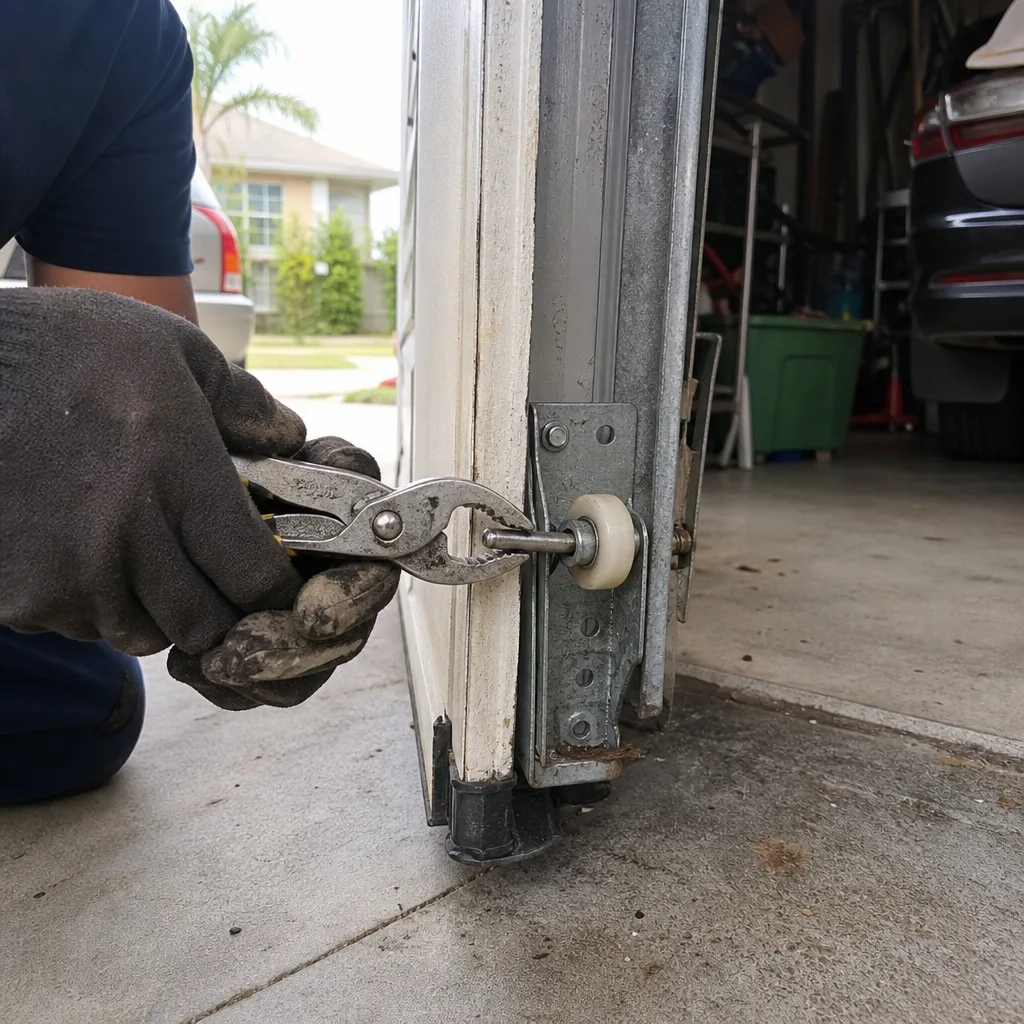
A torsion spring doesn’t fail by getting old. It fails by accumulating cycles. One cycle is one opening and one closing of the door. Most residential springs are rated for 10,000 cycles, which sounds like a lot until you do the math for a family that runs the door four times a day.
Here’s the calculation:
- 10,000 cycles at 4 cycles per day = 2,500 days = about 6.8 years
- 10,000 cycles at 6 cycles per day (two cars, kids, weekend projects) = 1,666 days = about 4.6 years
- 10,000 cycles at 8 cycles per day (home business, frequent in-and-out) = 1,250 days = about 3.4 years
That’s calendar time based on use. But Kissimmee adds a variable that most spring life calculators ignore: thermal cycling. Every day the garage heats up and cools down, the spring steel goes through a micro expansion and contraction. Over thousands of micro cycles, that contributes to fatigue, especially at the winding cones, where the spring is held under the highest stress and where you’ll often see surface rust first.
The practical takeaway: if you’ve been in the home five years and don’t know the spring’s history, you’re probably in the replacement window. And if you see rust at the winding cone or on the spring itself, the fatigue clock is ticking faster than a rust-free spring in a dry climate would be.
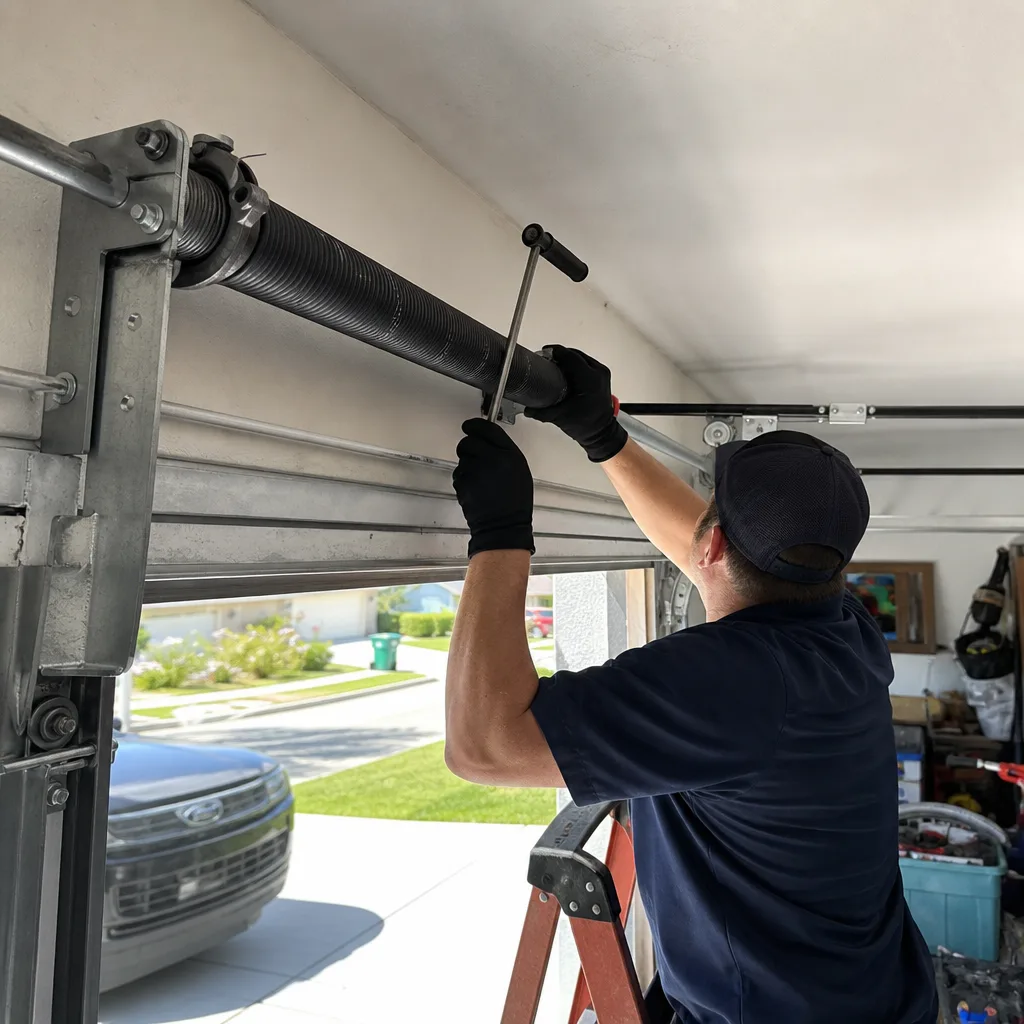
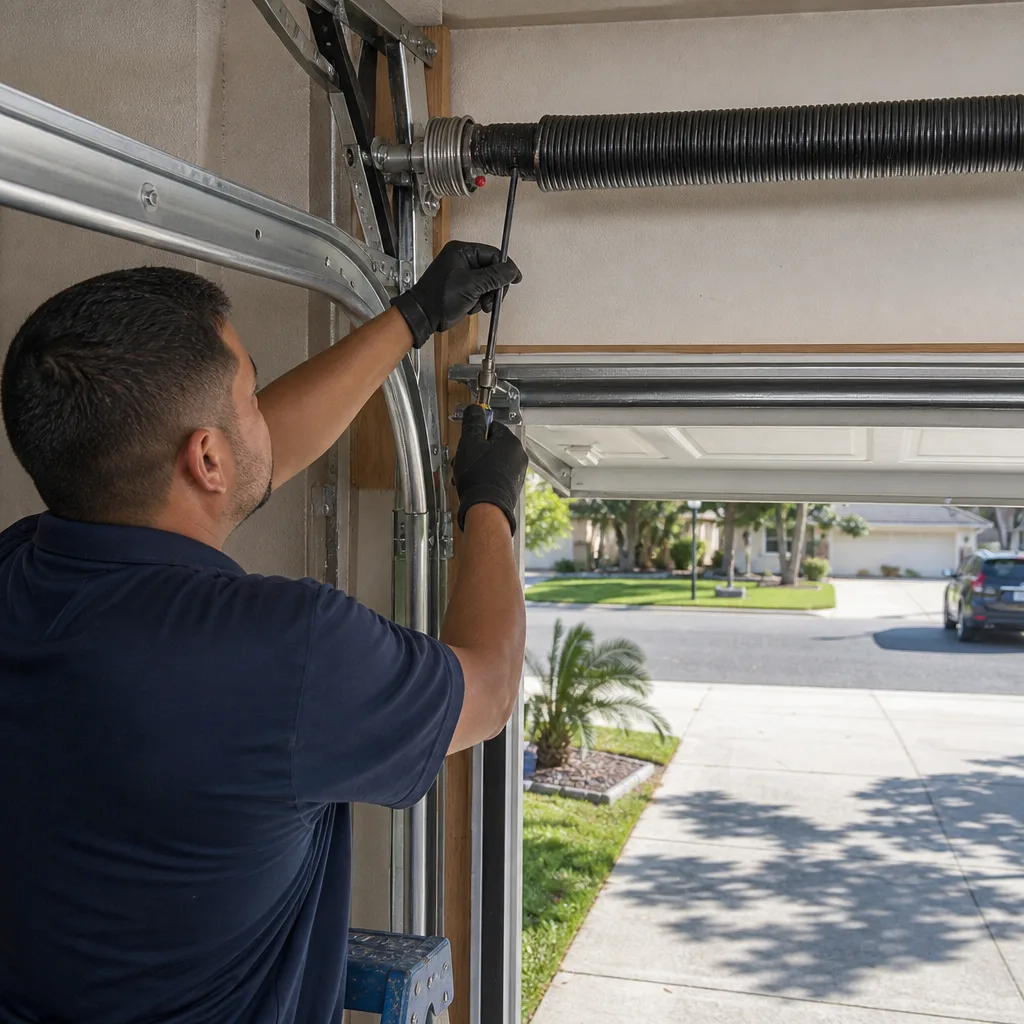
One clarification: you cannot safely replace a torsion spring yourself if you’ve never been trained. These springs are under several hundred pounds of tension, and when one snaps during removal or winding, it can break bones. The inspection and cycle math are safe to do. The replacement is a professional job, and any repair service that does it without explaining the cycle rating of the replacement spring is selling you a spring rated for fewer cycles than the original. For help choosing the right contractor, see How to Hire a Garage Door Contractor in Kissimmee: A Step-by-Step Guide. Always ask what cycle rating the replacement has.
Lubrication Product Selection: What to Use and What Accelerates Seal Decay
The wrong lubricant in a Kissimmee garage does more damage than no lubricant at all. High heat plus high humidity turns some petroleum-based sprays into a gummy residue that traps grit, and overspray onto the bottom seal or the weatherstripping breaks down the rubber compound faster than the sun does.
Here’s what we recommend for every moving component on a residential garage door in this climate:
- Springs: Spray white lithium grease or a silicone-based lubricant directly onto the coil faces, enough to coat but not drip. Do this once every six months. Avoid WD-40, which is a solvent, not a lubricant, and displaces the grease that’s already there.
- Hinges and rollers: Use a silicone spray with a narrow extension tip to reach the pin and bearing surface. If you have nylon rollers, do not lubricate the roller wheel itself; nylon rollers are self-lubricating, and lubricant on the wheel picks up grit that grinds against the track. Steel rollers can take a light silicone spray at the bearing.
- Cable drums and cables: No lubricant on the drums or cables. Lubricating the cables makes them slip on the drum, and the cable needs to stay dry and clean. If your cables look dry, that’s correct; if they look wet or greasy, someone over-sprayed and it needs to be wiped off.
- Track: No lubricant on the track. The track is not the friction surface; the rollers roll on the track, and lubricant turns it into a dirt trap. If the track is dirty, wipe it down with a dry rag.
- Bottom seal and weatherstripping: Apply a silicone-based rubber protectant, not a petroleum-based one. Petroleum products will cause the rubber to swell, then crack. There are several automotive rubber protectants that work well, but read the label and avoid anything with a petroleum distillate base.
The brands matter here only insofar as the formulation matches the component. A lithium grease that’s fine on the spring will damage a rubber seal if it drips down onto it. In a Kissimmee summer, garage temperatures can exceed 110 degrees inside, and any lubricant that’s not rated for that temperature will thin out and run where you didn’t want it.
The Documentation Habit: Photographing Hardware to Track Corrosion Progression
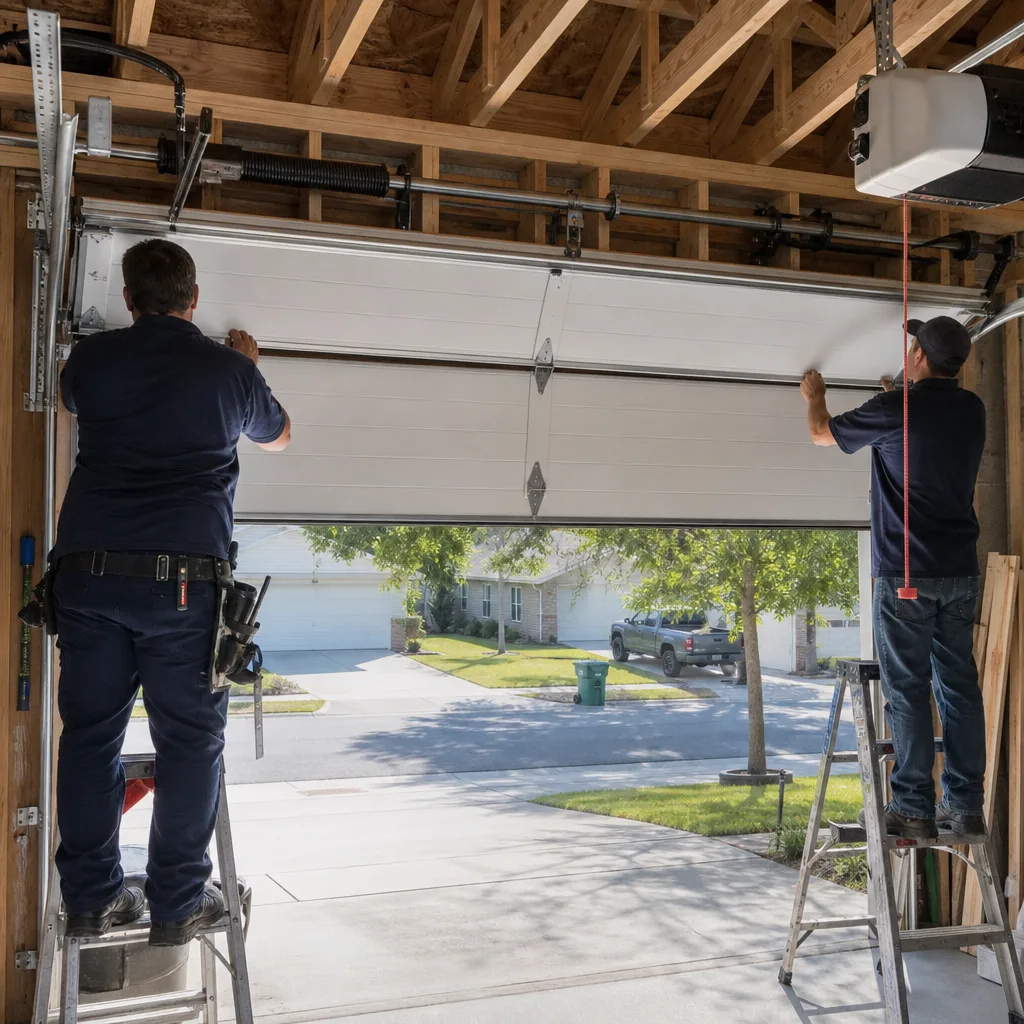
The single highest-value habit you can build into your Kissimmee garage door maintenance is also the simplest: photograph the same components on the same schedule, from the same angles, and store the photos in one place. For more guides & resources, visit our blog. This creates a baseline that answers the only question that matters when you’re looking at a rust spot three months from now: is it getting worse, or has it looked like that for a year?
Here’s the photo set we recommend capturing every quarter:
- Left cable drum - close-up from below, showing the groove surface and the set screws
- Right cable drum - same angle on the other side
- Left bottom bracket - showing the plate, the bolts, and the area behind the bracket where corrosion starts
- Right bottom bracket - same framing
- Each spring, both winding cones - the winding cone is the metal plug at each end of the spring where the rust often starts
- Bottom seal contact line - interior view along the seal where it meets the slab, so you can see daylight gaps
- Track wear points - any spots where the track shows scoring or where the roller leaves residue
Store these in a folder on your phone or computer with the date. When you send a photo to a Servo Garage Doors Kissimmee home technician or any other professional, you’re handing them a baseline that saves a diagnostic step. And when you’re deciding whether a rust spot needs action or just watching, the photos answer it in thirty seconds.
This is also the habit that separates a maintenance conversation from a sales conversation. A technician who sees your dated photo history knows you’ve been watching the hardware, which means they’ll explain what they find in concrete terms rather than generalities. The photo record becomes part of the service history of the door.
Seasonal Maintenance Schedule for Kissimmee Homes
Kissimmee doesn’t have four seasons in the northern sense, but it does have two distinct maintenance windows: the wet season from May through October and the dry season from November through April. Each window has its own priorities.
Wet Season (May through October)
- May: Inspect the bottom seal before the daily thunderstorms begin. Replace if the dollar-bill test shows gaps. Check that the garage floor drains away from the door and clear any debris from the door track area.
- June through August: Lubricate springs, hinges, and rollers monthly if the garage is not air-conditioned. Peak heat accelerates lubricant breakdown, and the door may need it more often than the twice-a-year baseline.
- September: After the storm season peaks, re-inspect the bottom brackets and cable drums for rust spread. September is when we see the jump in corrosion that started in July and went unnoticed.
- October: Photograph the full hardware set and compare to the May baseline. Note any component that has changed.
Dry Season (November through April)
- November: Clean the tracks with a dry rag. Humidity drops, but dust from the dry season picks up faster, and dry-season dust on a lubricated hinge is grit grinding down the pin.
- December: Check the opener force settings and reverse function. The garage may cool enough that the door moves slightly differently, and the opener’s force needs to be set for the lightest possible operation.
- January through March: Re-inspect the springs for surface rust that accumulated during the wet season. This is the window where replacing a spring before it fails is cheapest and easiest to schedule.
- April: Full hardware photo set, full lubrication pass, and bottom seal check before the wet season starts again.
If you miss a month or a whole season, don’t restart the calendar. Just run the current season’s checklist and pick up from where you are. The maintenance doesn’t need to be perfect; it needs to be consistent enough to create a visible history.
Common Mistakes to Avoid
- Lubricating the track. The track is not a friction surface, and lubricant turns it into a dirt trap that will grind your rollers down faster. Wipe the track dry, leave it dry.
- Using WD-40 on springs. WD-40 is a solvent designed to displace moisture and penetrate rusted parts; it will strip the lubricant that’s supposed to stay on the coils. Use silicone spray or lithium grease on springs, and never on the seal or cables.
- Waiting for the door to stop before checking springs. The surface rust and winding cone fatigue that predict a spring failure are visible long before the spring breaks. If you wait for the door to stop opening, you’ve paid for a failure instead of a scheduled replacement.
- Replacing the seal with whatever fits. Kissimmee’s heat and wet-dry cycling will destroy a generic seal inside a year if it’s not sized for the retainer channel. Match the seal to the door brand and channel profile.
- Ignoring a door that runs slowly or noisily. A door that’s getting slower is not getting old; it’s getting harder to move, which means more load on the spring and opener. Slow and noisy is the door telling you a component is binding.
- Forgetting to photograph. The photo record is the only way to answer “was it like that before?” without guessing. If you skip it for two inspections, you lose the baseline and have to start over.
- Doing spring work yourself. Torsion springs are under several hundred pounds of tension, and the winding and unwinding process can cause severe injury if you don’t have the training and winding bars. Even a removed spring holds stored energy. This is the one piece of hardware where inspection is safe and replacement is not.
When to Call a Professional
Some maintenance findings are warnings; some are stop-and-call situations. If you see a visible gap in a torsion spring, meaning the coil is no longer continuous, stop using the door immediately and call a professional. If a cable is frayed more than a few individual strands, the door should not be operated. If the bottom bracket is pulling away from the door face, same. And if the door reverses unexpectedly during operation or won’t reverse when it hits an obstruction, the opener’s safety system needs professional checking.
Garage Door Opener Repair & Installation in Kissimmee is the specialized branch of this work, and a force-setting or sensor problem belongs there. For broader maintenance questions, our team at Servo Garage Doors Kissimmee offers free estimates in Kissimmee, and we document everything at every visit. Call (689) 210-6506 and we’ll tell you over the phone whether it’s urgent or routine.
Frequently Asked Questions
Twice a year is the baseline for most homes, but if your garage is uninsulated and faces west into the afternoon sun, you should lubricate monthly during the hottest months, because heat thins the lubricant out and squeezes it off the bearing surfaces. Use a silicone spray on hinges and rollers, lithium grease on springs, and never lubricate the track or cables. If you’re not sure what to use, call us at (689) 210-6506 and we’ll tell you what to buy for your specific door brand and year.
A basic inspection and lubrication service in Kissimmee typically runs between $95 and $175 depending on the door size, the number of panels, and whether the technician finds anything that needs immediate attention. That price should be quoted as a flat, written number before any work starts, and it should include a written summary of what was inspected and what was found. We don’t do call-for-a-quote; we give you the number on the page and the scope in writing first.
No. The price and scope are written and agreed before any work begins, and if the technician finds something beyond the agreed scope, it becomes a separate written approval before that work happens. That’s the entire point of the written price system. If any company can’t guarantee that, ask why.
We answer calls with a live person 24 hours a day, including emergency calls, and we’ll give you a named technician and an on-the-way text rather than a callback window. A standard maintenance inspection is usually scheduled within the week, but if you have an emergency like a broken spring or a door that won’t close, we’ll tell you honestly over the phone whether today is realistic. Call (689) 210-6506 and you’ll talk to a person, not a recording.
The opener brand doesn’t change the door hardware checklist, because the opener is a separate system that operates the same door hardware regardless of brand. What it changes is the force-setting and safety-sensor maintenance, and both LiftMaster and Chamberlain openers should have their auto-reverse and force settings checked twice a year. If your opener is more than ten years old, the logic board and drive gears are the components most likely to fail next, regardless of the door’s condition.
Torsion spring replacement is the most common repair we do in Kissimmee, and in nearly every case there were visible warning signs months earlier: surface rust at the winding cone, a slight gap in the coil, or the door getting heavier to lift by hand. The spring amortizes over use cycles, and most homeowners who’ve lived in the same Kissimmee home for five or more years are closer to the replacement window than they realize. If you can lift the door manually and it’s noticeably heavier in the first few feet of travel, that’s a spring losing its stored energy.
The Bottom Line
Kissimmee garage doors fail from corrosion and fatigue that generic maintenance guides don’t address. The components to watch are the cable drums, bottom brackets, and torsion spring winding cones, and the maintenance habit that pays off most is the quarterly photo record that gives you a baseline for rust progression. Lubricate with the right product, measure the bottom seal with a dollar bill before every wet season, and calculate your spring’s remaining life in cycles, not years. When you need a professional, get a written price before any work starts and a documented photo record when the work is done. Garage Door Installation in Kissimmee lives by those same rules, and so does every repair we do. Call (689) 210-6506 for a free estimate and we’ll put the number and scope in writing before anything moves.
Written by Marcus Deller, Owner at Servo Garage Doors Kissimmee, serving Kissimmee since 2015.